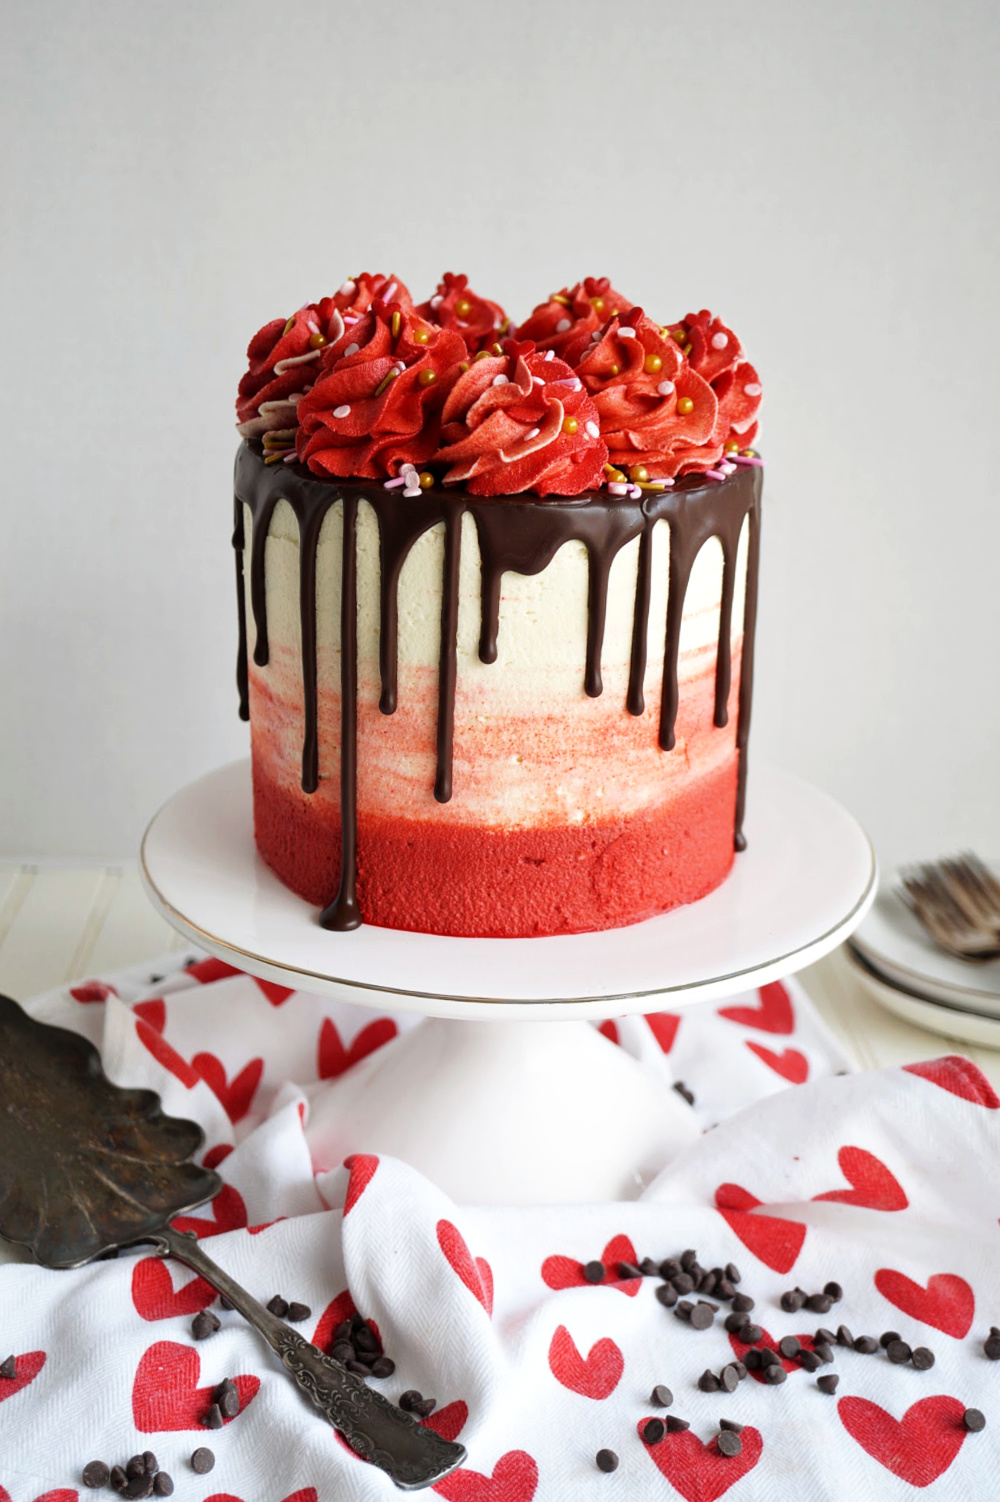
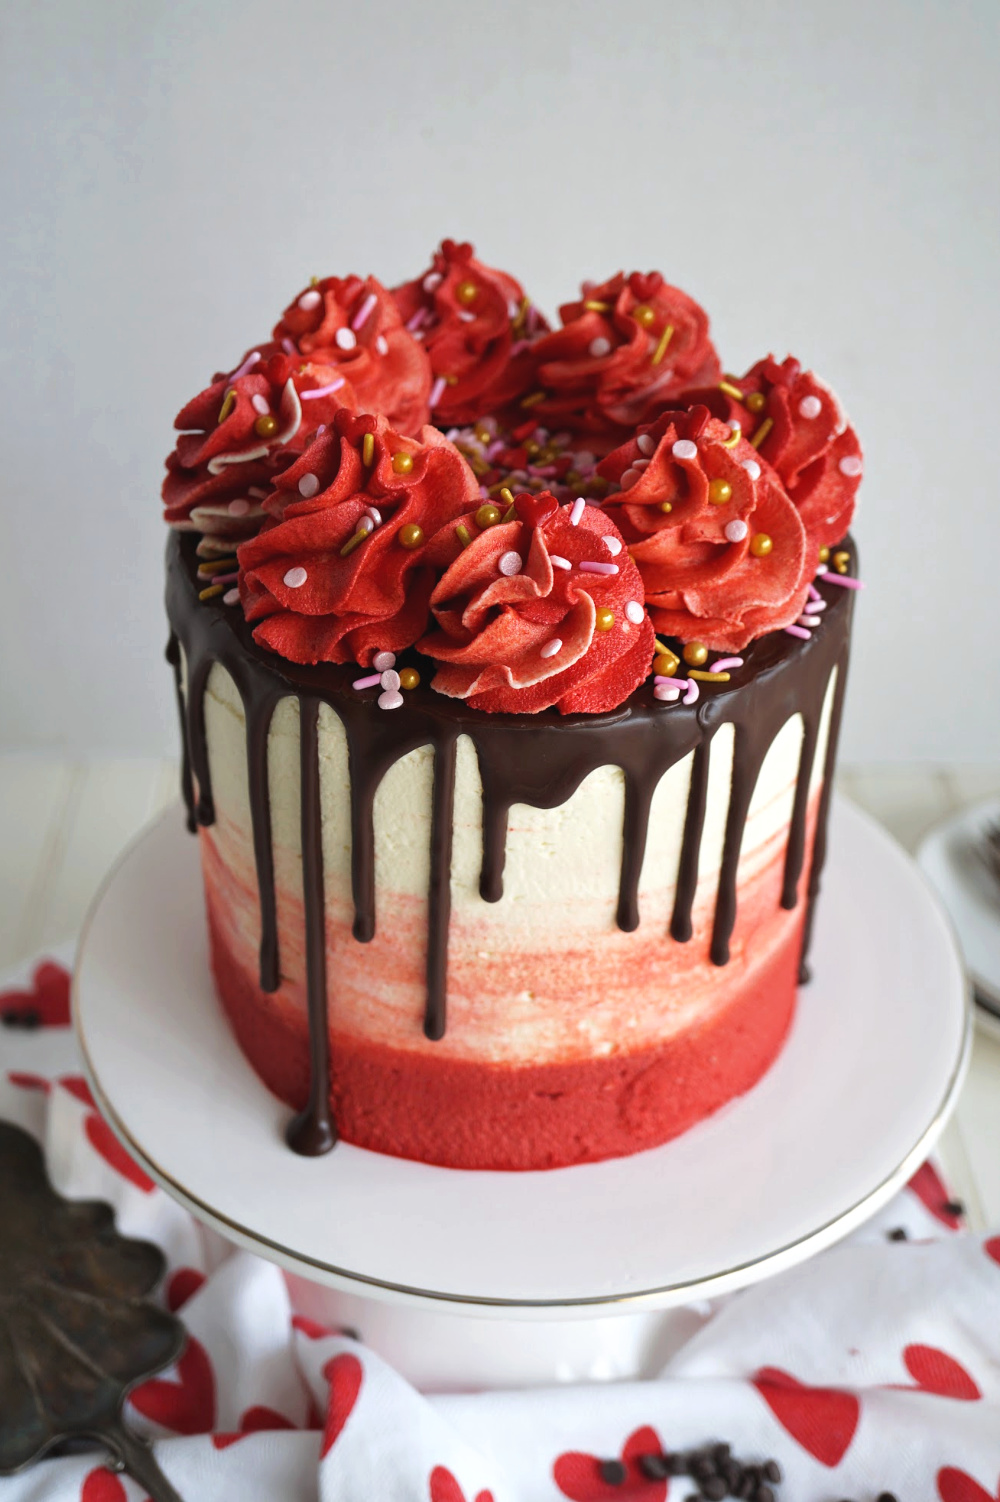
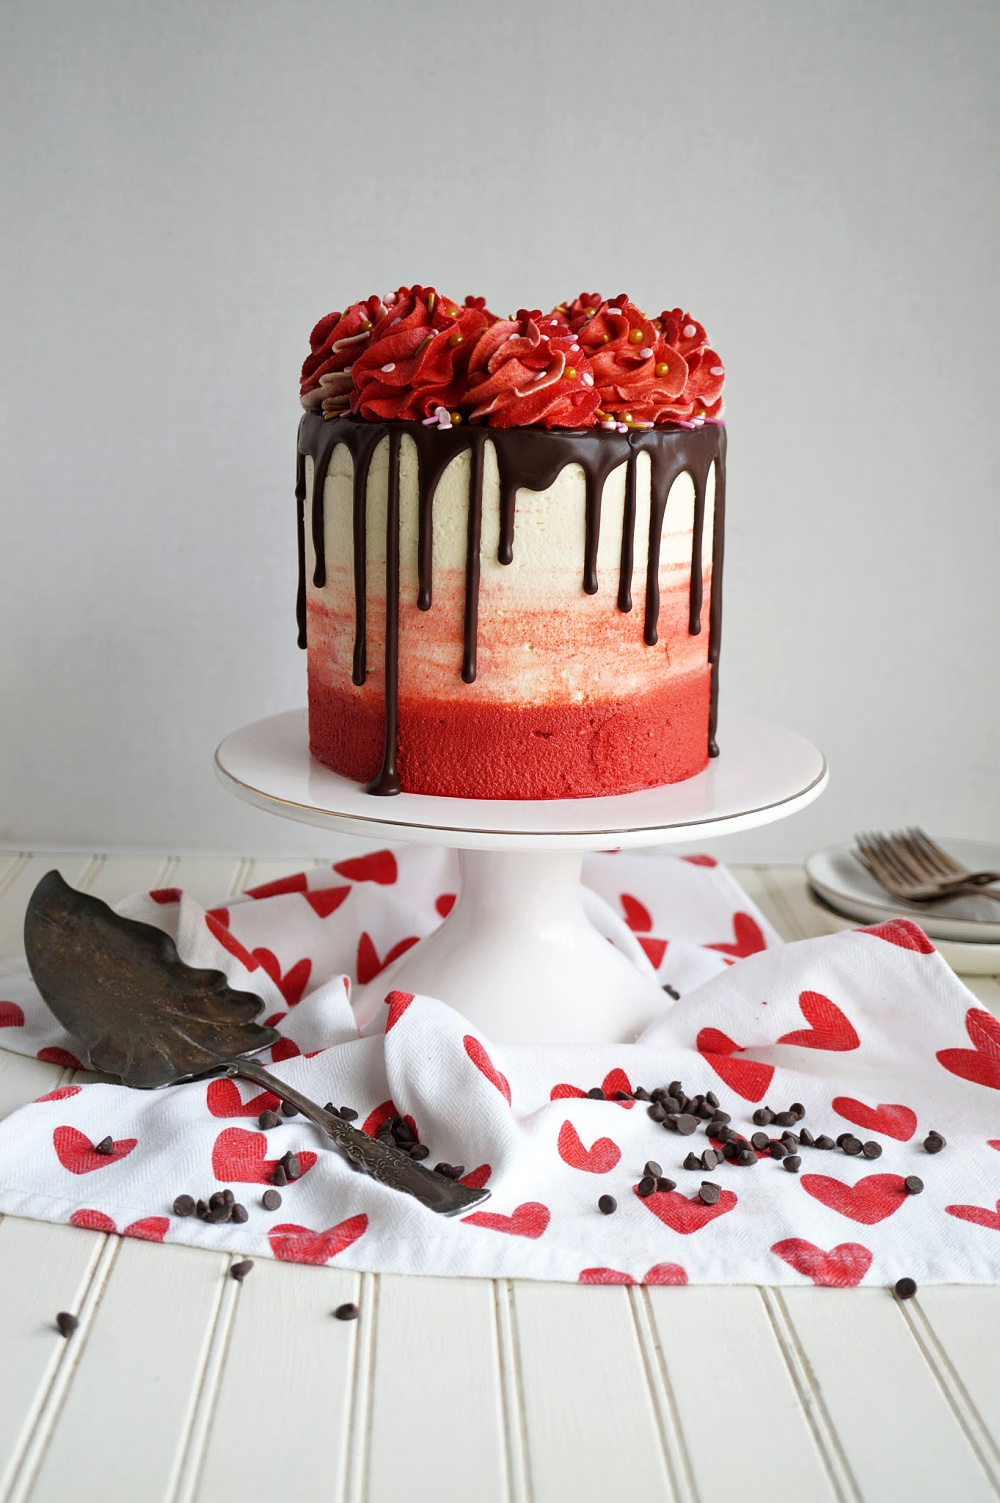
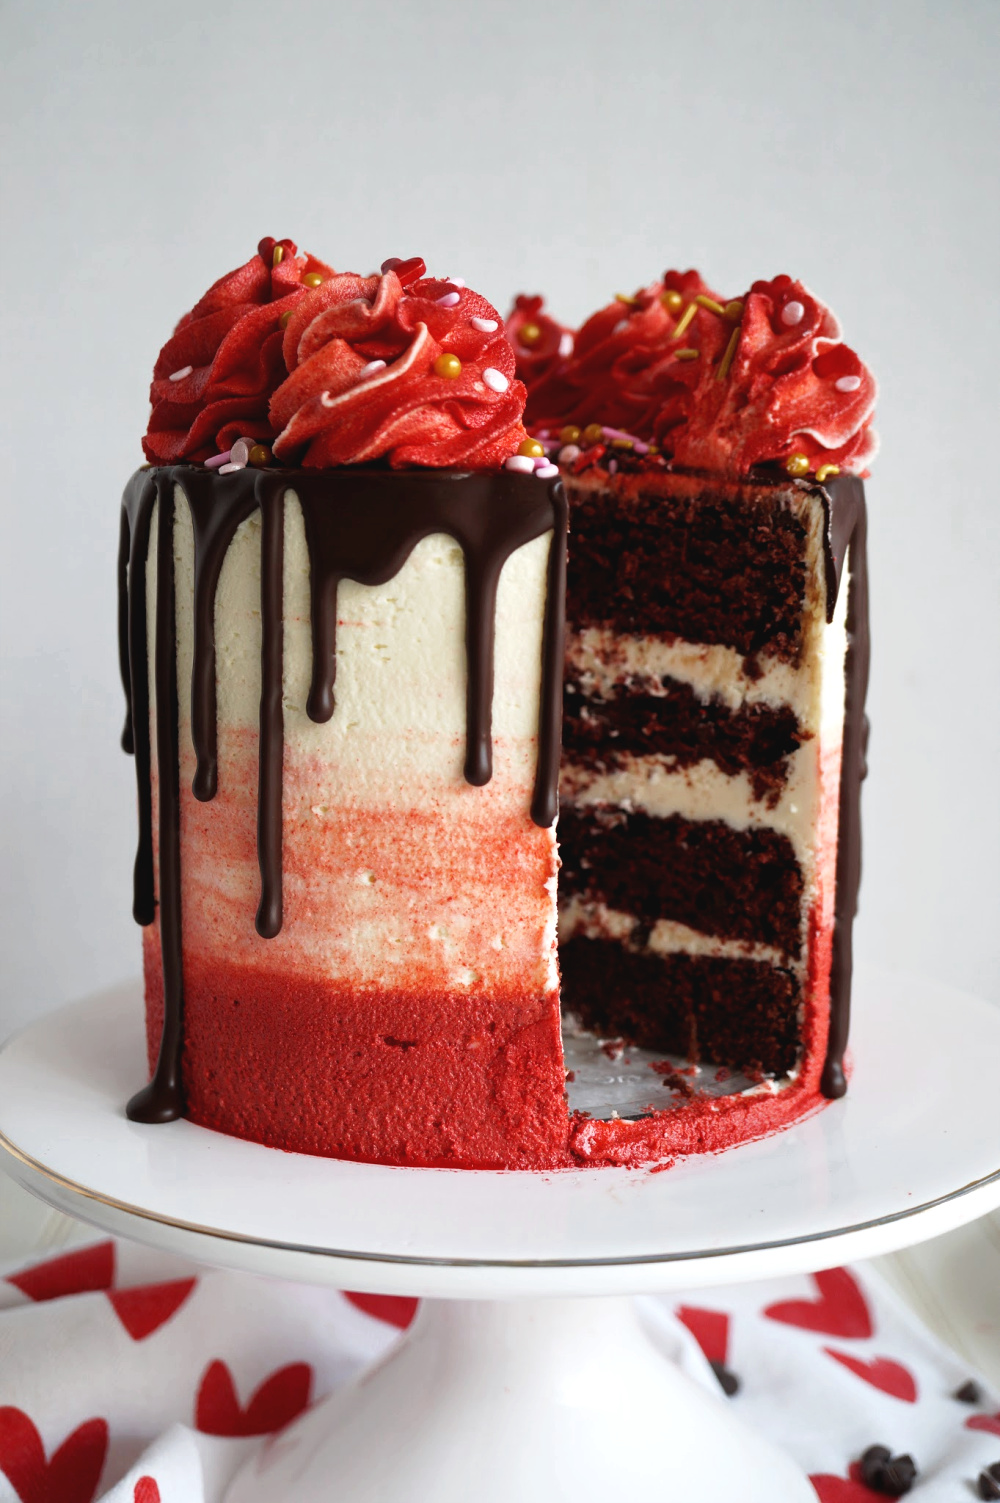
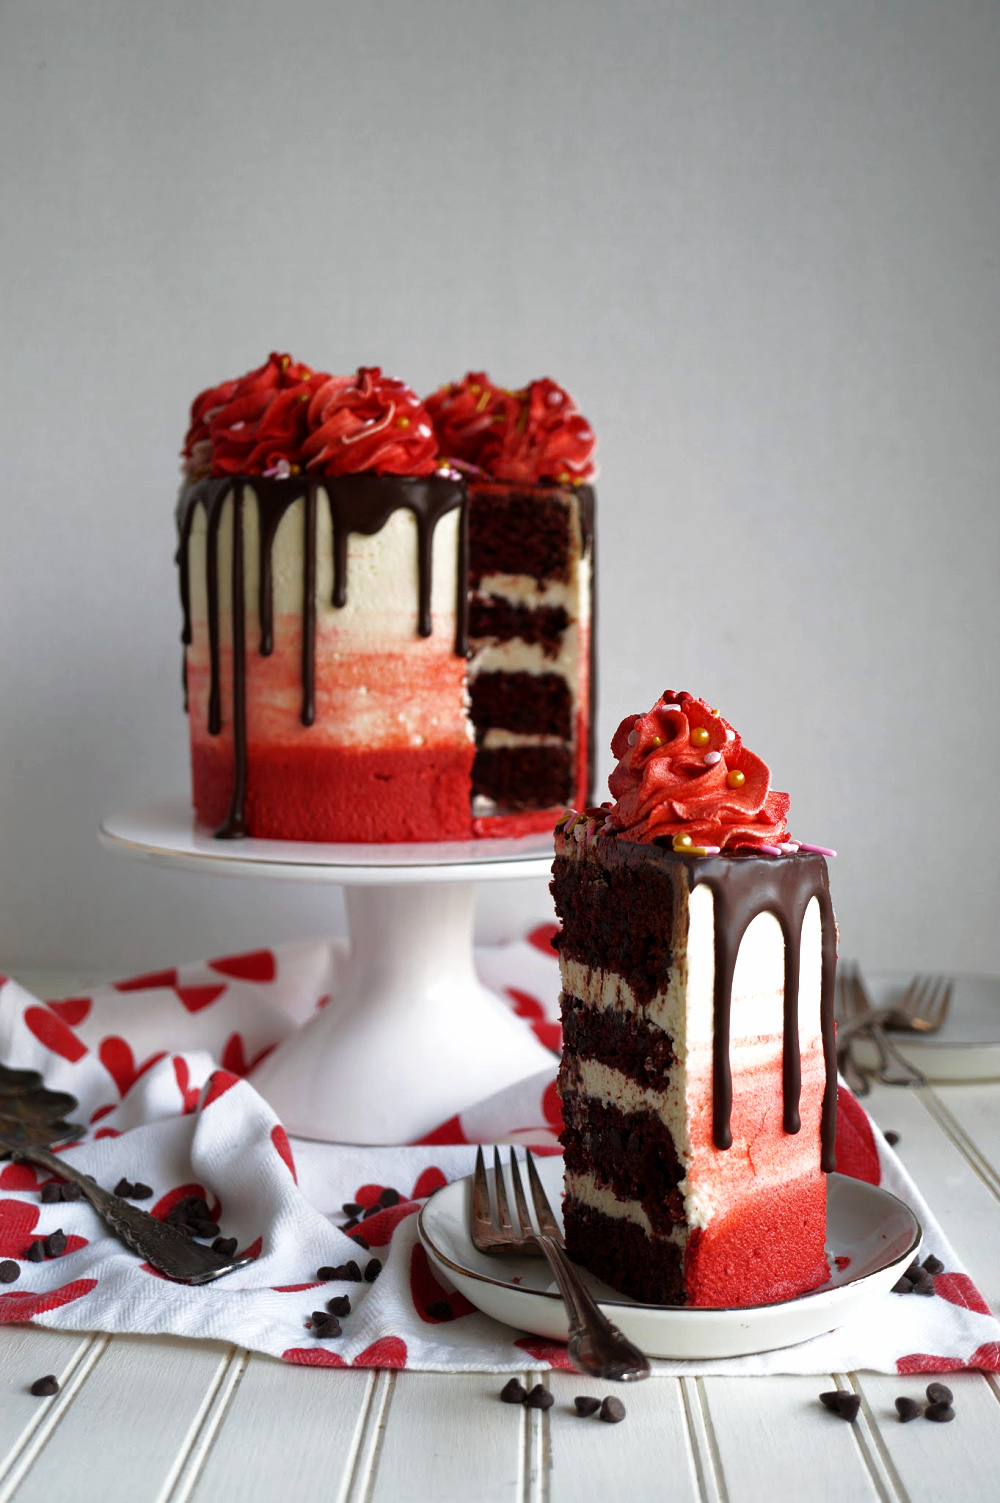
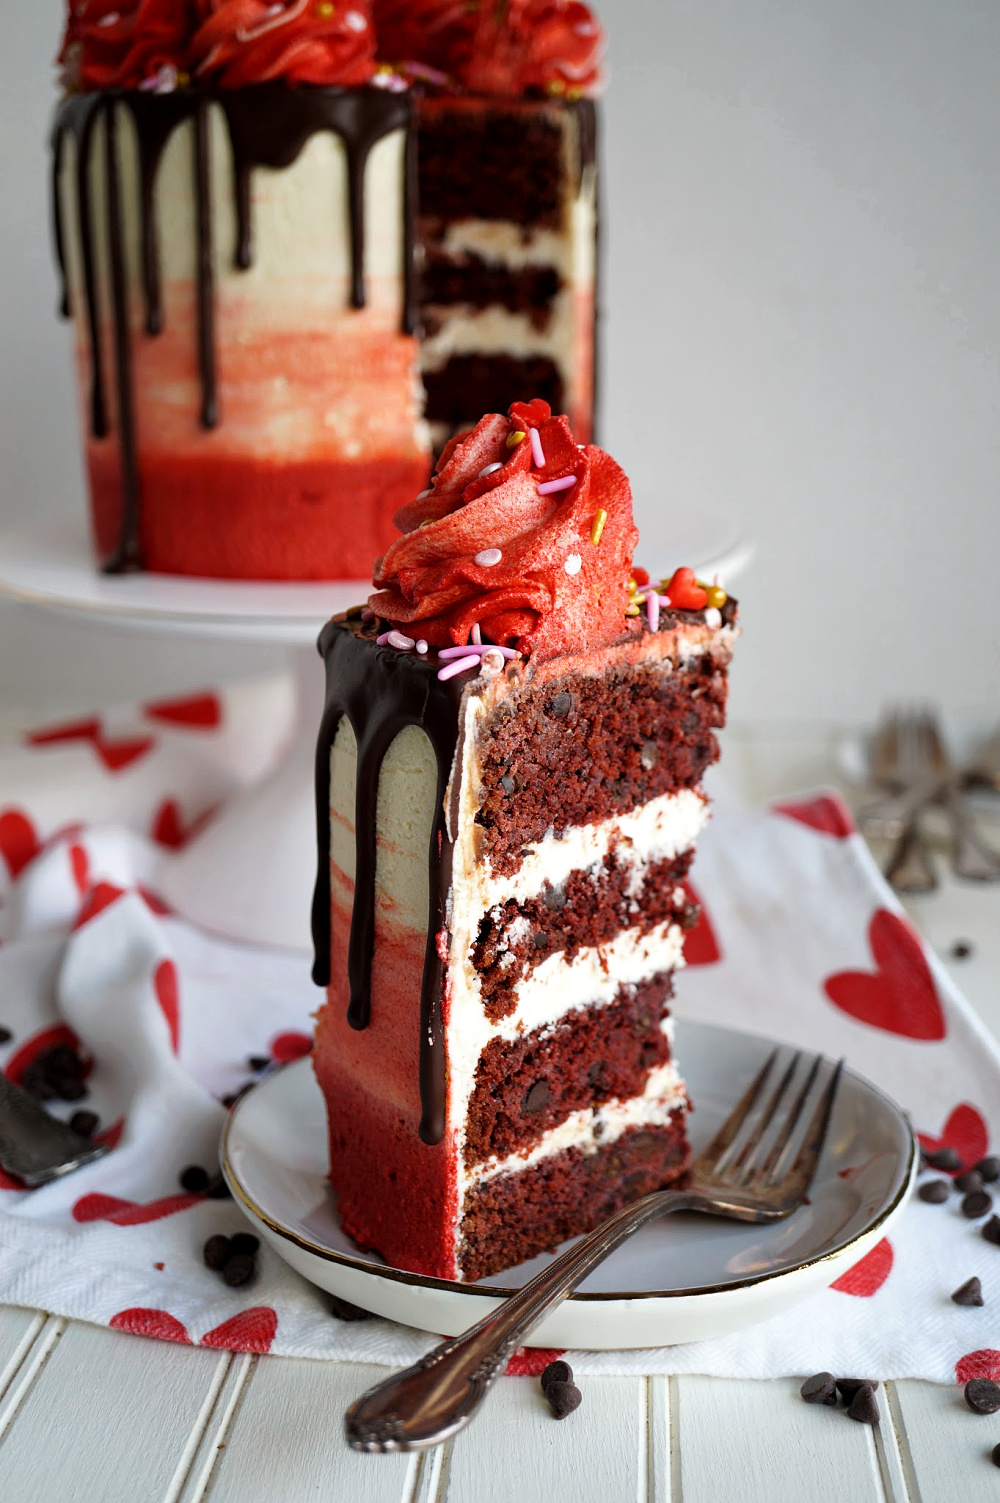
This fun Vegan Red Velvet Chocolate Chip Layer Cake is perfect for Valentine's Day! The classic ruby red cake is studded with decadent chocolate chips and decorated with red ombre frosting and chocolate ganache.
Hi friends and happy Monday! It's Valentine's week!! I am so excited to be sharing this beauty with you guys today. It is a Vegan Red Velvet Chocolate Chip Layer Cake and it tastes even better than it looks. Anyone that knows me will say that red velvet is easily at the bottom of my "favorite cake flavors" list but... this version is so good, even I'll eat it 😉 Once you try red velvet with chocolate chips, you will never go back!
You'll get mixed responses when you ask people what "red velvet" really is, but for me, it essentially comes down to a barely chocolate cake with a ton of red food coloring added. That's basically what I did here ???? I started with my go-to vanilla cake base, added in 1 spoonful of cocoa, and an honestly obscene amount of red food coloring. Why is red such a difficult color for food?! The real game changer here is a cup of mini chocolate chips baked in, which turn this into a red velvet chocolate chip cake, aka the best ever. I used to work at a bundt bakery that shall not be named, and while I didn't like their red velvet flavor either, I will admit the addition of chocolate chips was genius. So I did it too!
What you need for red velvet chocolate chip layer cake:
- Cocoa! It might not be a lot, but it needs to be high quality to make an impact! I personally love the Rodelle cocoa powder. I buy it at Costco, but of course you can also buy it online! I am also a fan of the Hershey's Special Dark Cocoa though it tends to make baked goods really dark!
- Vegan chocolate chips: there are tons of brands out there, but I like Enjoy Life Foods because they have mini chocolate chips! They also make some very delicious dark chocolate chips that are vegan friendly. Kroger's Simple Truth brand also has some good vegan-friendly chocolate chips.
- Red food coloring: I really encourage you to buy high quality, cake decorating-level food coloring as it will be much more concentrated and give you the desired results with a lot less color! You need the red food coloring both for the batter of this red velvet chocolate chip layer cake, and for the frosting. There is nothing worse than a cake that tastes like chemical-y food coloring. The cheap food coloring at the grocery store is not concentrated and you'll likely end up using the whole tube with lackluster results. I really like Americolors, Hobby Lobby brand food coloring, and Wilton. I was able to find Wilton at my local Walmart, but note that it was not in the baking aisle, rather there was a whole cake decorating section with the crafts!
- Valentine's sprinkles: I also grabbed my cute Wilton ones at Walmart, but there are heaps of adorable ones online!
- A wide star decorating tip: my beloved 1M decorating tip is pretty much the one I always reach for. I just love that classic swirl so much! If you buy one piece of cake decorating equipment, I recommend this one. It works for cakes, cupcakes, deviled eggs, twice baked potatoes, really anything that you want to make fancy!
- A squeeze bottle: this is my secret for a pretty ganache drip! A squeeze bottle lets me control where the drips are, and how long I make them. It's seriously a game changer! I'm also lazy AF and literally just combine chocolate chips and milk in the bottle and microwave the whole thing. Saves me dishes while I'm at it ????
Even if you're not a red velvet fan... you must give this vegan red velvet chocolate chip layer cake a try! It is delicious and those chocolate chips are a total game changer! If layer cakes are not your thing... you can also make this cake in a two-layer 8" version (not as scary, right?), or a loaf cake, or a bundt, or just a 9" square pan. Seriously you can bake it up however your heart desires!
Looking for more Valentine's treats?
- Vegan Raspberry Dark Chocolate Rice Krispie Treats
- Valentine's Day Dark Chocolate Truffle Cookies
- Strawberry Cake Mix Cookies
- Vegan Chocolate Covered Strawberry Cake
- Truffle Brownie Bites
vegan red velvet chocolate chip layer cake
Ingredients
- *for the cake*
- 2 tablespoon ground flaxseed + 6 tablespoon water
- 1 cup granulated sugar
- 1 ⅔ + 1 tablespoon cup all-purpose flour
- 1 tablespoon cocoa powder
- 1½ teaspoon baking powder
- 1 teaspoon baking soda
- ½ teaspoon salt
- ¼ cup vegan butter at room temperature
- ⅓ cup nondairy yogurt
- ¼ cup vegetable oil
- 1 tablespoon vanilla extract
- ⅔ cup nondairy milk
- 1 cup vegan chocolate chips
- 1-2 tablespoon red food coloring for desired color
- *for the frosting*
- 1 cup shortening
- 1 cup vegan butter
- 4 cups powdered sugar
- 1 tablespoon vanilla bean paste or vanilla extract
- 1-2 tablespoon of nondairy milk as needed
- pinch of salt
- red food coloring
- *to decorate*
- dark chocolate chips and nondairy milk for the ganache
- sprinkles
Instructions
- First, make the cake. Preheat oven to 350F and spray two 6" round cake pans with nonstick baking spray.
- In a small bowl, whisk together the ground flaxseed with the water and set aside to thicken.
- In the bowl of a stand mixer, combine the flour, cocoa powder, baking powder, baking soda, salt, and sugar.
- Add in the vegan butter, and beat on low until it's incorporated and has a sandy texture.
- In a small bowl, whisk together the oil, flaxseed mixture, nondairy yogurt, and vanilla extract, and add them to the dry ingredients. Mix until combined.
- Pour in the nondairy milk, and beat on medium-low until smooth and creamy. Add food coloring until you reach your desired color (I was generous as I was worried the color would fade with cooking!) Finally, gently fold in the chocolate chips.
- Divide batter evenly among the 2 pans, and bake for 35-40 minutes until cake is set in the center and a toothpick comes out clean.
- When the cakes are completely cooled, you can make the frosting. In the bowl of a stand mixer, beat the shortening, vegan butter, and vanilla extract together until completely smooth and creamy. Add in the powdered sugar, 1 cup at a time, until a thick frosting forms. Add in the salt. It is normal to need to add 1-2 tablespoon of milk to get the right consistency.
- Transfer about ¼ of the frosting to a separate bowl, and add red food coloring until your frosting reaches the desired color.
- To assemble the cake, divide the 2 cake layers in half to create 4 thin layers.
- Place one cake piece on your cake stand or platter, and spread some white frosting on top. Repeat with all.
- Next, cover the cake with a layer of white frosting for the crumb coat. Cover the cake, being sure to fill in any gaps between the layers. Use a bench scraper to remove any excess (remember we want this layer to be pretty thin).
- Let the cake chill for 15-20 minutes so the crumb coat can solidify, then you can frost the "final" frosting! Cover the bottom ¼-1/3 of the cake with the red frosting, and the rest with white frosting. I used an offset spatula to blend a little between the red and white frosting to create the ombre effect.
- Use the bench scraper and gently remove the excess frosting until the sides and top of the cake are nice and smooth.
- Place the cake back in the fridge for 10-15 minutes before adding on the ganache.
- To make the ganache, place about ½ cup of dark chocolate chips in a microwave-safe bowl. Add in a splash of nondairy milk, and microwave in 20 second intervals until smooth and creamy. Add more milk and keep stirring if the mixture is too thick.
- Transfer your dark chocolate ganache to a squeeze bottle, and decorate the cake. Place the cake back in the fridge before decorating the top with frosting as you want the ganache to solidify.
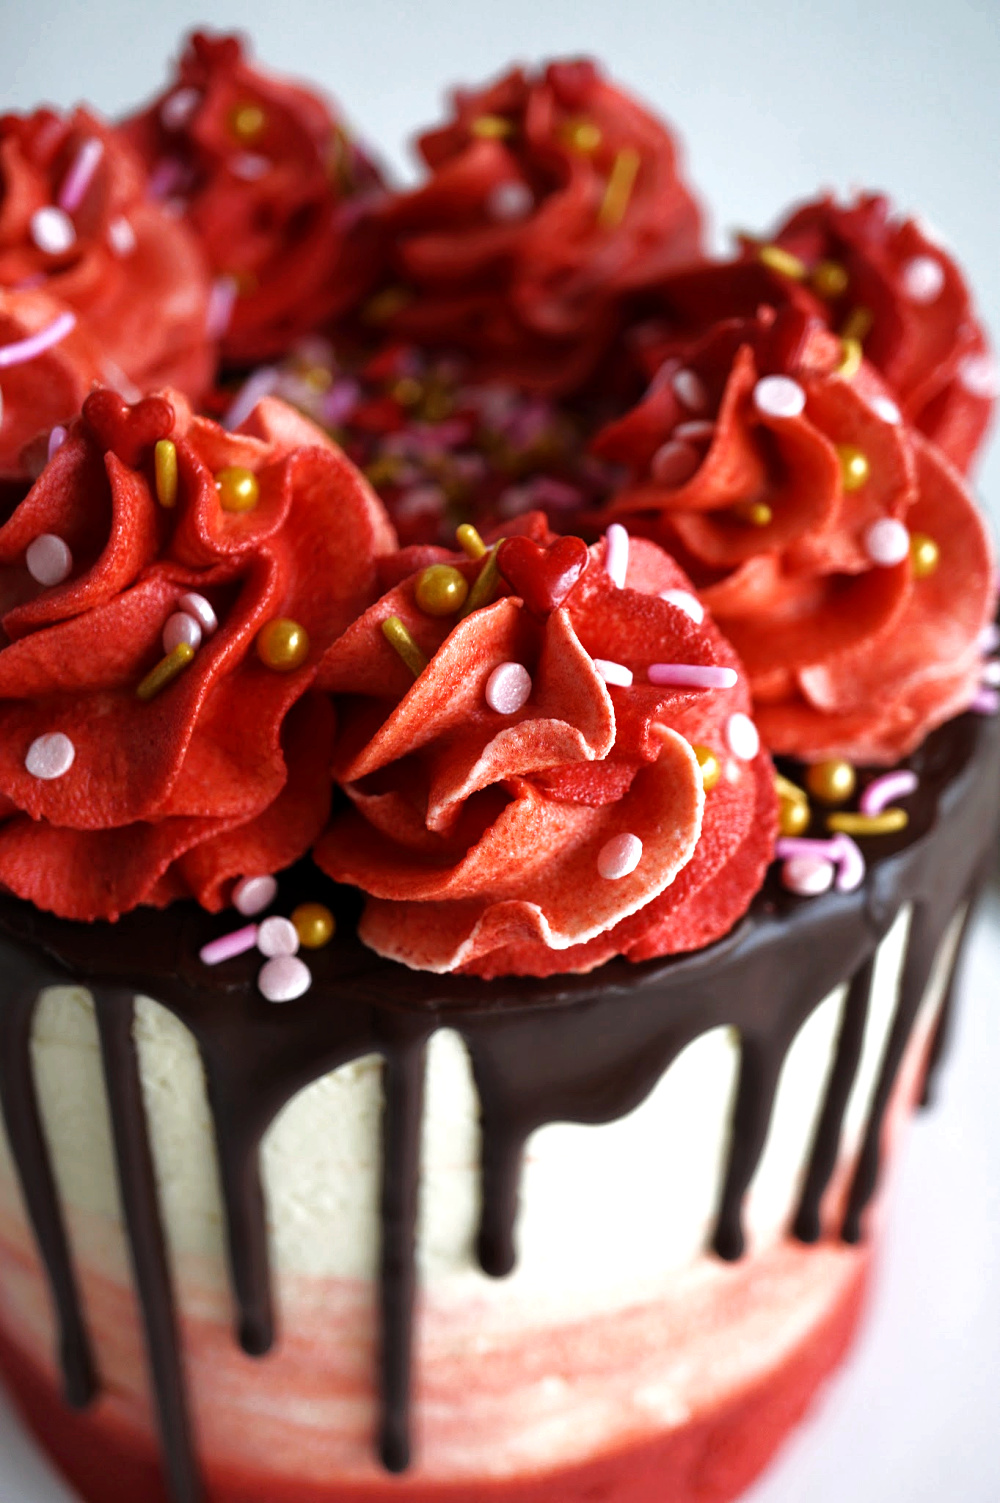
- Finally, use any extra frosting to decorate the top (or make another half batch). I used a 1M tip and piped in a circular motion to get the tall peaks of frosting. Finish the cake with sprinkles on top!
*Disclosure: I am part of the Amazon Associates Program, and there may be affiliate links on this page. If you buy anything through my website, I will receive a small percentage of the profit at no extra cost to you. Thank you for supporting my blog!*








Ronak Mehta says
The cake looks perfect and fabulous to bake for a special day. Yes, its definitely the best red velvet cake. Lovely!!