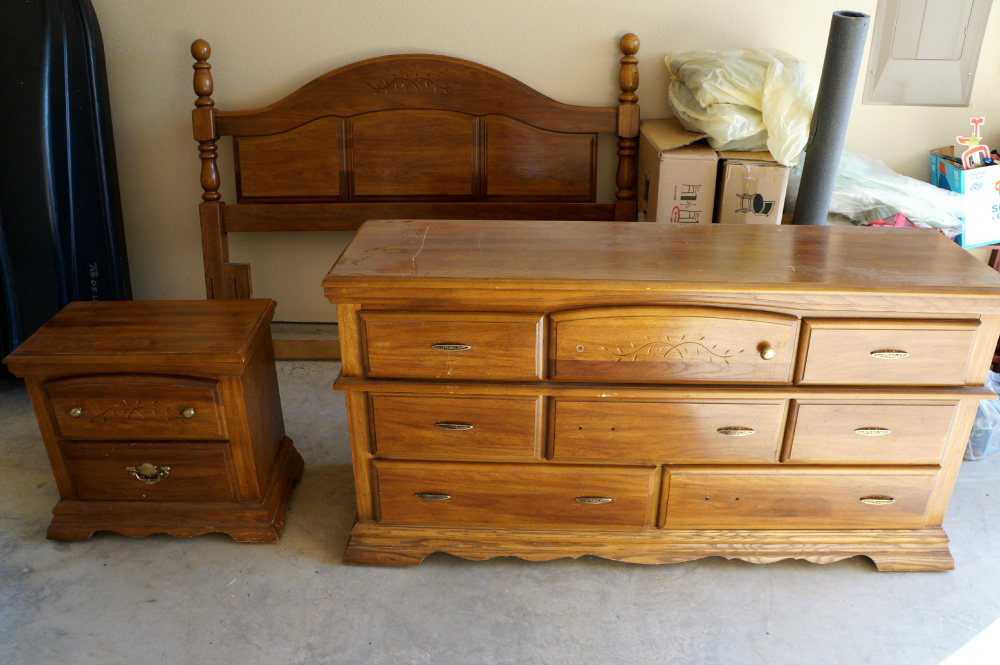
Hello, darlings! Still on vacation, so I'm still busy going through my long-ago photographed-and-abandoned posts. These are pictures from last summer, when I acquired an old, sad bedroom set and decided to make it my little project. Yes it was ugly and scratched and old-fashioned, BUT it was solid oak, and I knew that with a good sanding and some paint, it could become something amazing. I could see the potential. And I was so right! First things first, let me show you what I had to work with...
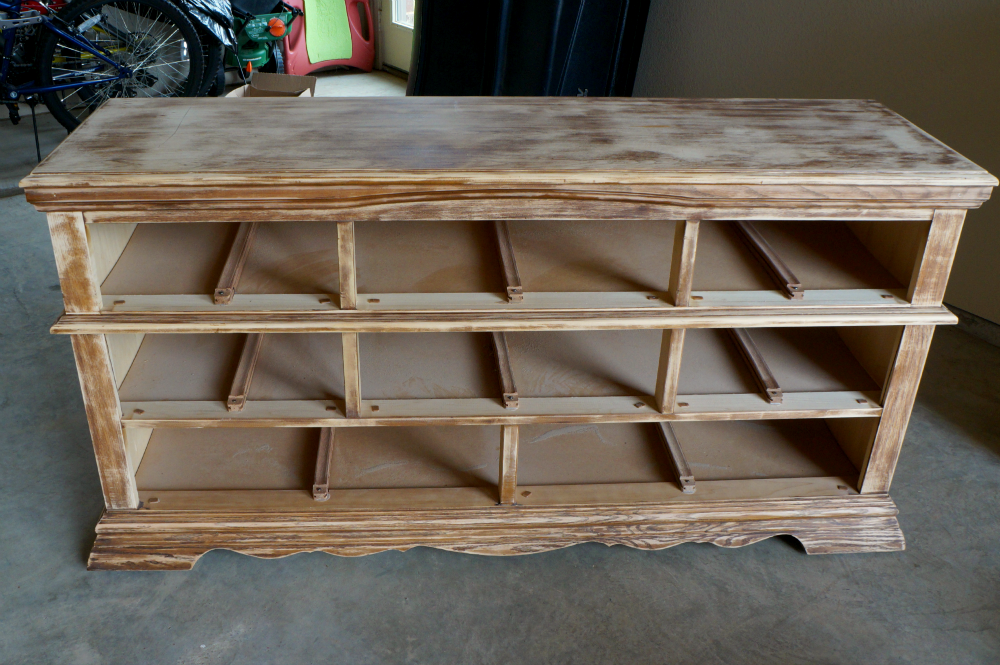
Yikes! I'm so used to my pretty furniture now, that I often forget how ugly it was to start with! It was definitely old-fashioned, light colored oak with an ultra-thick layer of sticky wax and gloss on top. I actually really liked the bottom drawer pull on the side table, and I'm 99% sure that those pulls used to be on the dresser as well, but at some point someone replaced them with those straight-across pulls which didn't even fit right, and often came out of the holes when you pulled them drawer open. So frustrating. The first thing I had to do was sand, sand, sand all of that awful, gross glossy stuff off. That, by far, was the most time-consuming and labor-intensive part of the whole process. Sanding stinks!
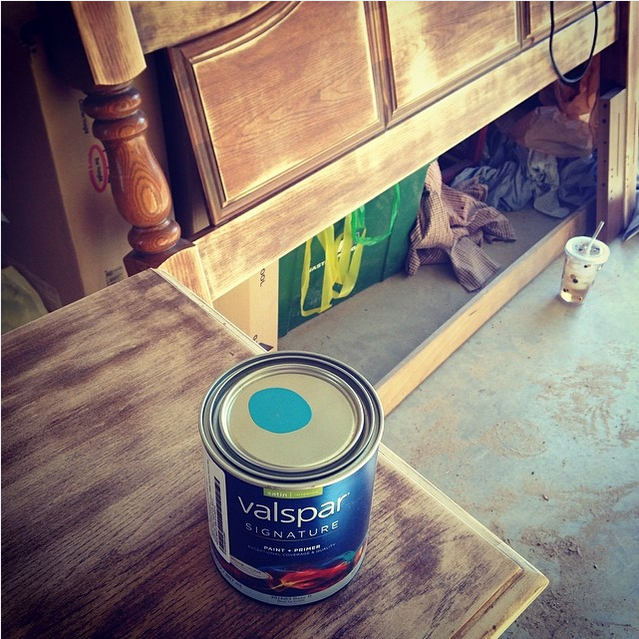
This was already such an improvement. Now we're making progress! Because there was so much detailing in the dresser, I was really glad that my sander came with different attachments that were flexible and able to sand the details without getting rid of them. I seriously just bought the cheapest sander I could find at the hardware store, and I think it ended up costing me something around $20. Best investment ever! If you're wanting to do any furniture projects, or even DIY projects with wood, it's seriously a lifesaver. Ain't nobody got time to sand by hand.
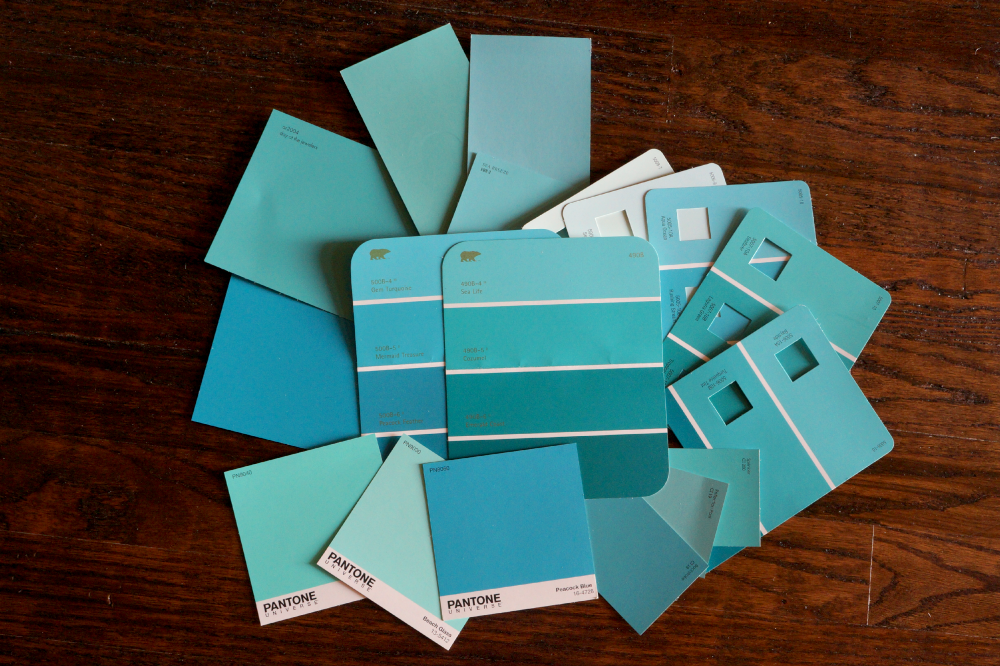
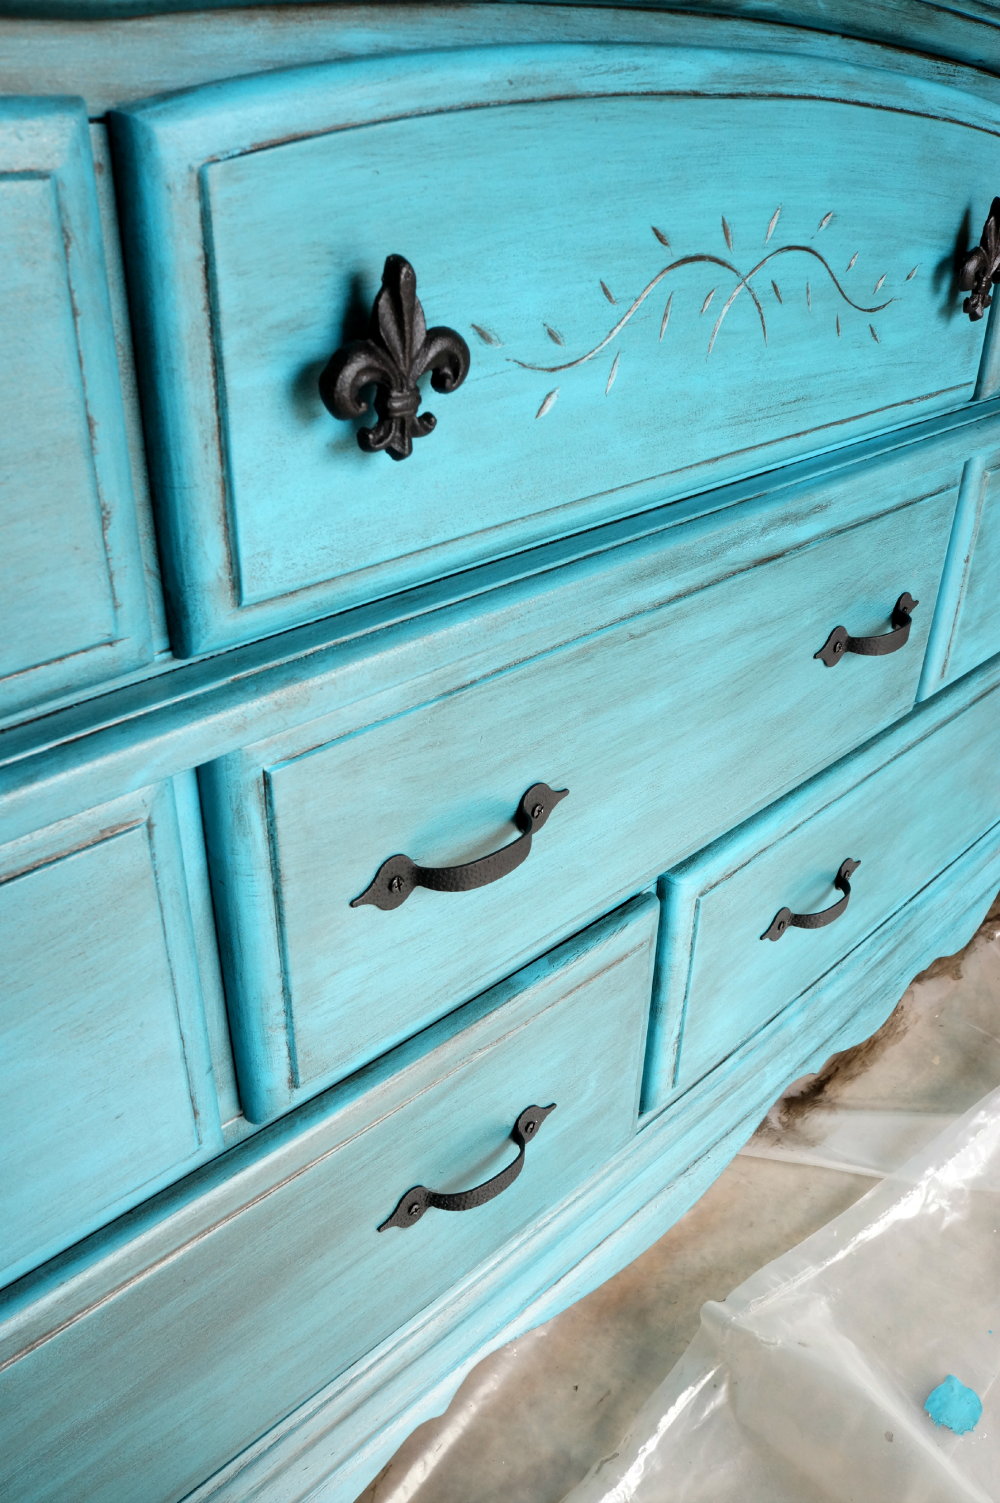
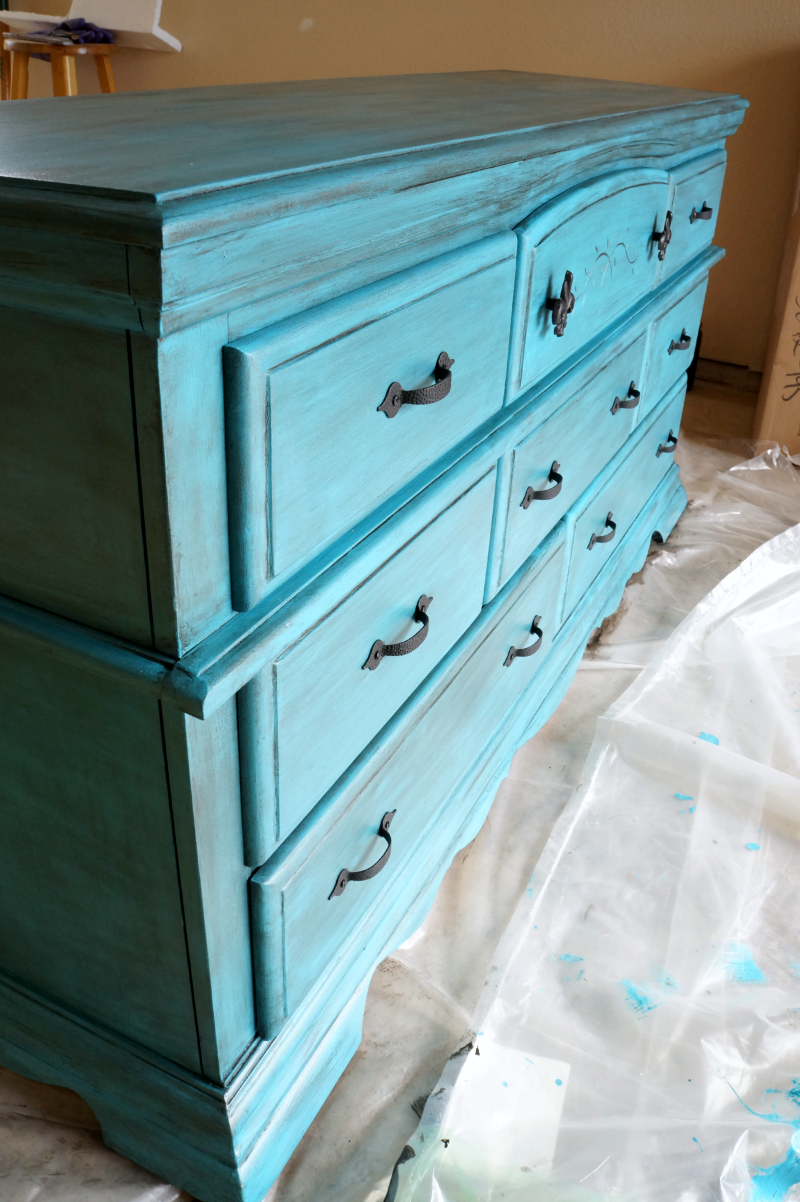
After all the sanding, it was time for the fun part: picking a paint color! I knew I wanted my furniture to be turquoise, but did you know there are literally 5 trillion shades of turquoise?! I'm an indecisive person at the best of times, so I might even argue that choosing the paint color might have been the hardest part of this whole ordeal. I grabbed a million paint swatches and tried them out in different lighting. I ended up settling on Pantone Peacock Blue, which is an absolutely gorgeous, vibrant, bright turquoise! So perfect!
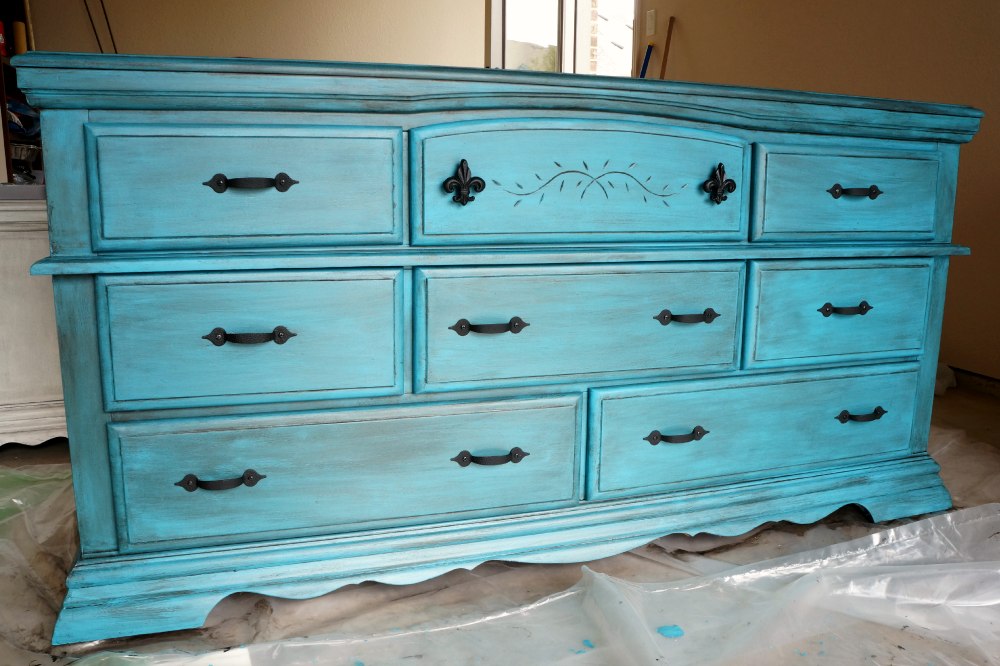
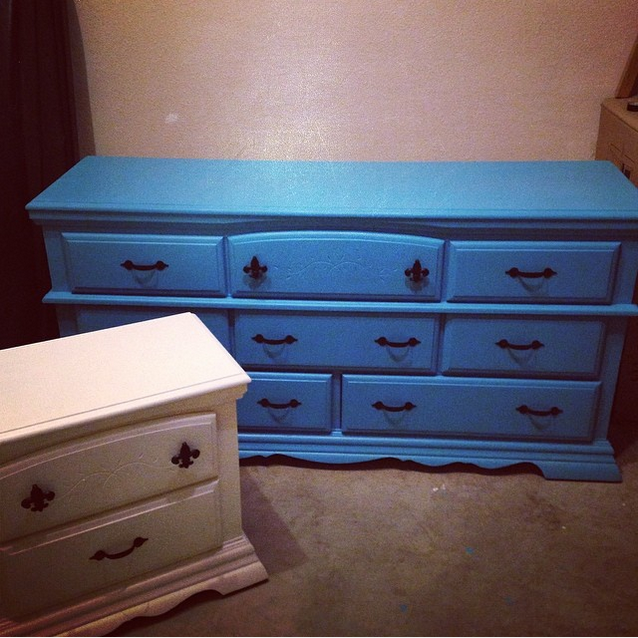
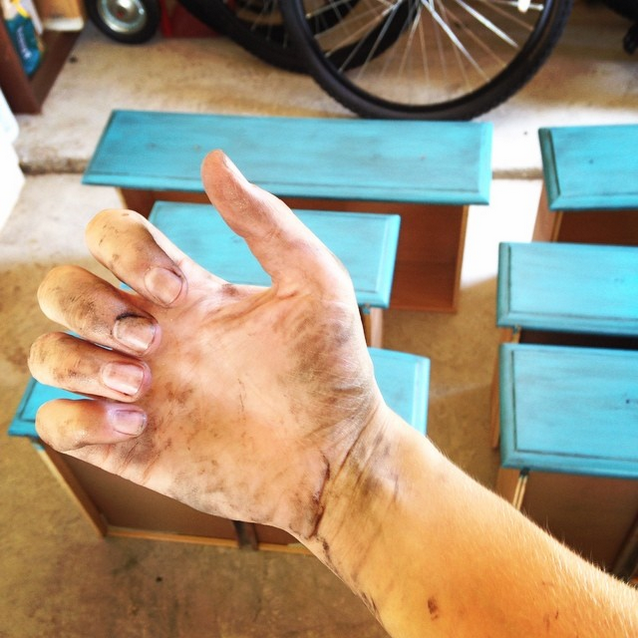
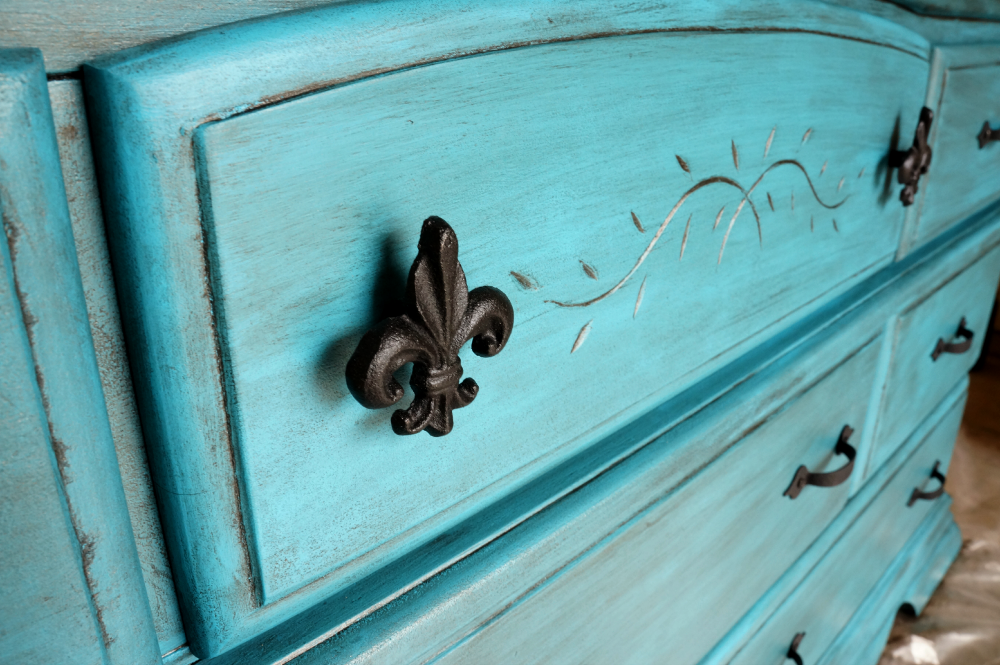
I was afraid of being overwhelmed by the turquoise, so I painted the headboard and dresser blue, but picked a creamy, neutral white-beige for the side table to tone it down a smidge. All I have to say is thank goodness for Instagram, because I seriously sucked at taking progress pictures for this project. 😉 Here are the dresser and side table painted, and outfitted with brand new pulls from Hobby Lobby! And then I decided that the furniture looked too plain and boring as it was... so I decided to glaze it! Along with my entire body and garage and like, every surface in sight. This is why DIYers cannot have nice nails. 🙂
You can find all the info and how-to for my homemade metallic glaze HERE! I actually posted that a few months ago on a semi-reasonable timeframe, I just never got around to posting the rest! I am seriously sooo happy with how everything came out though. It was a lot of work... but it was so worth it. It's been almost a year and I am still thoroughly obsessed with my furniture!
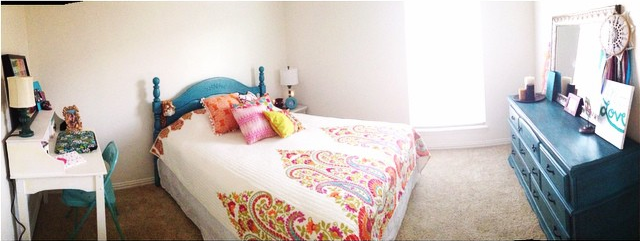
This is a picture I took right after I moved in and set everything up, so I have a bit of a gallery-wall thing going on now, and some things have been moved around... but I haven't taken more pictures anymore anyways. Because, again, I'm an awful craft blogger and that's why I stick to mostly food. 😉 But I just wanted to show the furniture in action! It's so pretty and such a conversation piece. People always ask me where I bought it... and they can't believe I redid it myself!
If y'all need any tips or help with furniture makeover and refinishing, I will be more than happy to help! My knowledge is limited to my own projects, but I would love to answer your questions as best as I can 🙂 Good luck and happy DIY-ing!




Leave a Reply