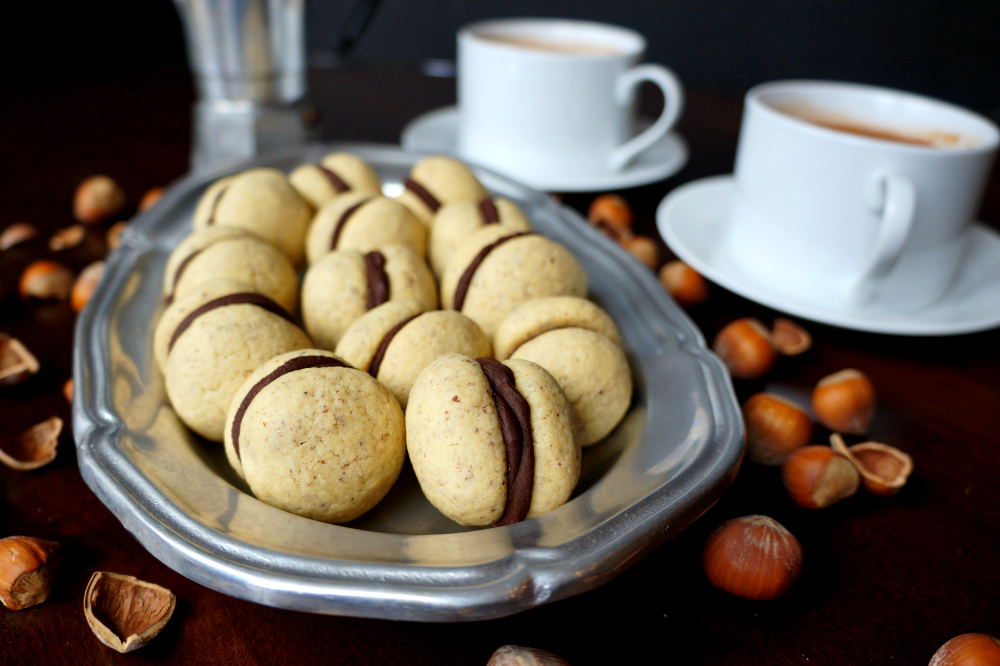
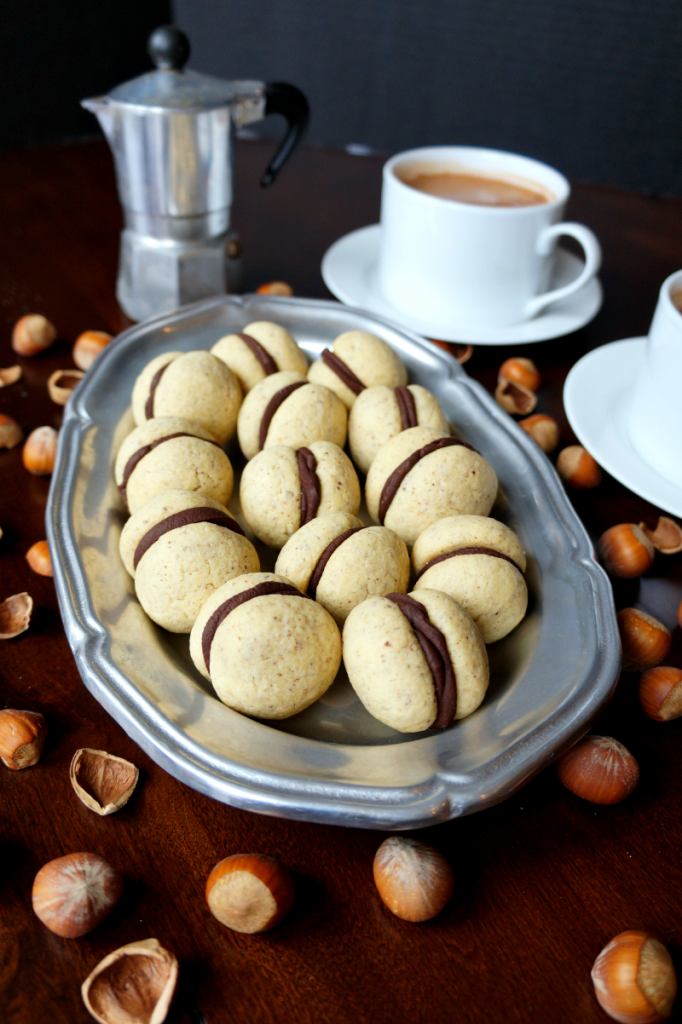
I'm baaaack! Sorry for the brief hiatus, the real job called and I worked and worked and worked for a whole week. Phew. After a long nap, I'm finally back in the kitchen, and I have these delicious Baci di Dama as a peace offering! Baci di Dama mean "Lady Kisses," and they are these delicious, traditional Italian hazelnut cookies filled with a chocolate cream. They are deceivingly easy to make, and they taste fantastic! And if you're not a hazelnut person... well, good news, because basically any nut under the sun {besides perhaps the ubiquitous peanut} will work in these. So, what are you waiting for? Let's get to work!
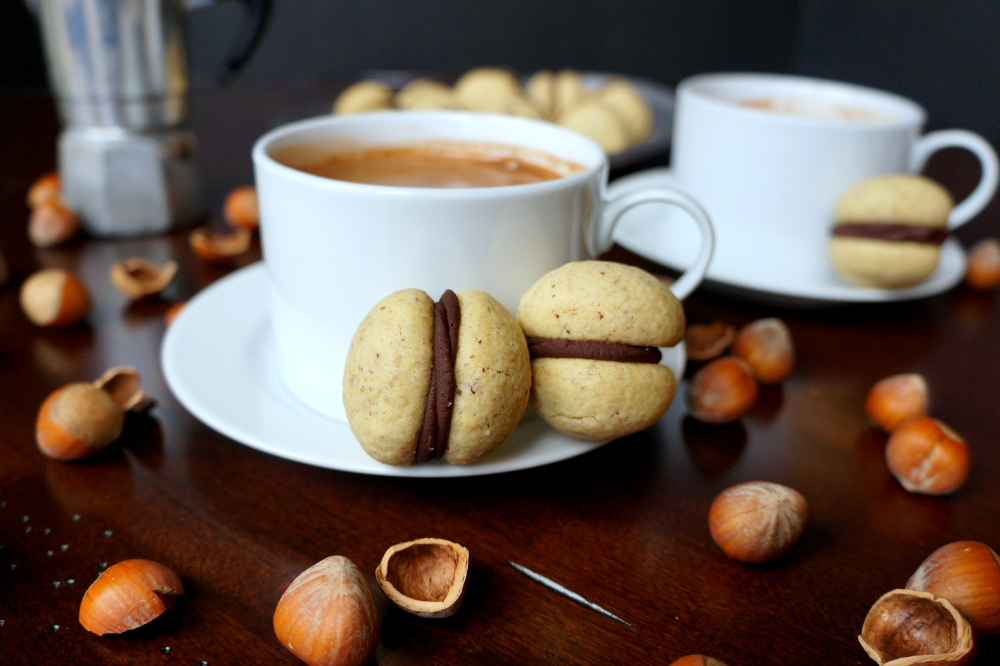
These cookies are slightly sweet, with a rich nuttiness coming from the cookies themselves, and the dark chocolate filling giving them a creamy bittersweet note. They are perfect with espresso, tea, or even a mug of hot cocoa! I always remember wanting to get these any time my mamma and I went to the store, because A, they have chocolate AND hazelnuts {and I have to point out that I was raised on basically 50% Nutella}, and B, I just loved the name. Lady Kisses? Oh, how classy and fabulous! I was not a dramatic child in any way, obviously. This homemade version is just as good, if not better, than the cookies I had when I was little! Bring the Italian bakery to YOU with this easy, delicious recipe. Happy baking!
baci di dama {chocolate hazelnut cookies}
Ingredients
- 14 tablespoon {1 stick + 6 tbsp} unsalted butter at room temp
- 1 ¾ cup all-purpose flour plus extra for kneading
- ¾ cup granulated sugar
- 1 cup hazelnuts or other nuts of choice {almonds pecans, or walnuts work!}
- 1 teaspoon vanilla extract
- 1 egg
- ½ teaspoon salt
- 2 cups semisweet chocolate chips
- ¼ cup half & half
Instructions
- First, toast the nuts in a pan over a stove at medium-high heat, stirring often, until the nuts are fragrant and warm. Set aside to cool.
- In a food processor, combine the nuts and about half of the granulated sugar, and pulse until a fine flour forms.
- In a large bowl, whisk together the nut flour you just made, along with the all-purpose flour, the rest of the sugar, and salt.
- Add the butter into the bowl, and using a pastry cutter or your hands, mix the butter into the dry ingredients until combined. Add in the vanilla and egg, and mix until a soft dough forms. It should be a bit sticky!
- Lightly flour a clean, smooth surface, dump the dough onto it, and knead, adding flour, until the dough is soft and smooth without being overly sticky or gooey. Tightly wrap the dough with plastic wrap, and refrigerate for at least 1 hr.
- When dough is chilled and ready, line two baking sheets with parchment or silicone liners, and form small walnut-sized balls of dough. The cookies should not spread during baking, so you can fit up to 20-25 cookies per sheet. Refrigerate the cookie dough balls for another 30 minutes before baking.
- When ready, preheat the oven to 350F, and bake the cookies for 20-22 minutes. Cookies should be slightly firm to the touch but not golden.
- Remove cookies to a cooling rack, and make the chocolate filling. In a microwave-safe container, combine the chocolate chips and half&half, and microwave in 20 second intervals until smooth and creamy. The half & half should thicken the mixture to be more like a cream and less like liquid chocolate.
- Transfer the chocolate cream to a ziploc baggie or piping bag, cut off a small piece of a corner, and pipe the filling into the cookies, making cookie sandwiches.
- Let the sandwiches stand for a few minutes to allow the filling to solidify, then enjoy!










Megan - The Emotional Baker says
These look awesome! I love how versatile they are.
Jbj100 says
Do they have to be made the same day or can you make them day before thank u
valentina says
Hi! You can absolutely make them in advance. These are good for about a week. 🙂