Happy, happy Friday my loves! We have finally reached the last day of the wonderful H-E-B Joyville Sweeps and blog features! In case you missed it, here are the fantastic blog posts my fellow foodie friends came up with!
Red and White Holiday Tabletop - Homemade Mood
Wine 101 & Cranberry-Ginger Texan Mule Cocktail - Quarter Life Crisis Cuisine
Bacon, Brie, & Cranberry Sliders and Appetizers - Confections of a Foodie Bride
Sundried Tomato and Goat Cheese Roasted Chicken - A Zesty Bite
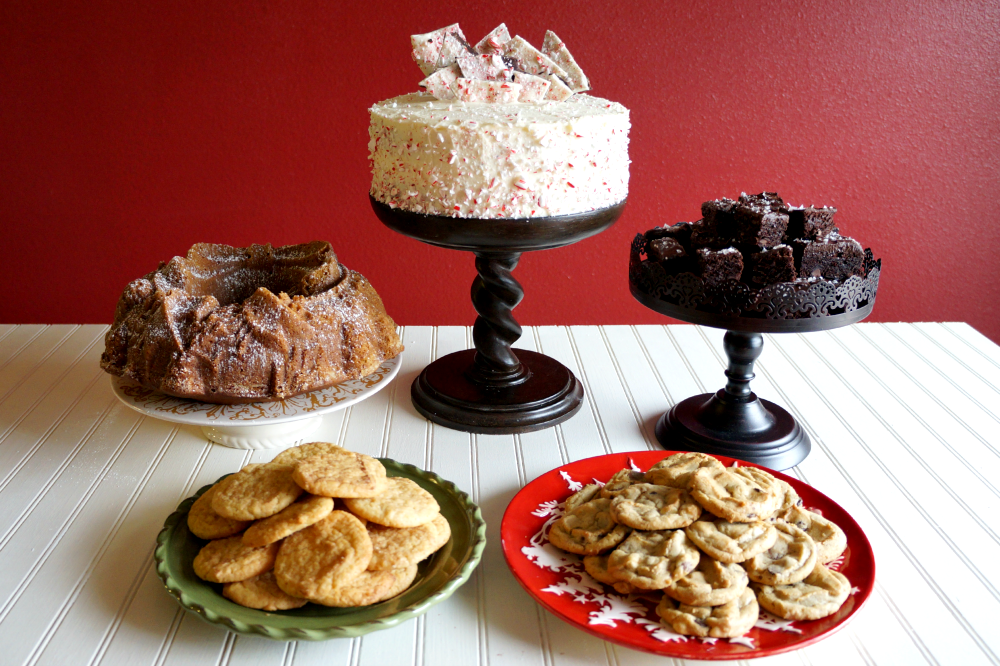
And, here you are today for the best part of any meal... dessert! Don't forget to hop on Instagram and share your favorite holiday sweet treats! Tag @HEB and hashtag #HEBJoyvilleSweeps and automatically be entered to win a $100 giftcard and $50 gift basket. Today, I am teaching you not only how to make a delicious peppermint bark-inspired cake, but also how to put together the perfect dessert table! Come along with me, and I'll teach you my secrets....
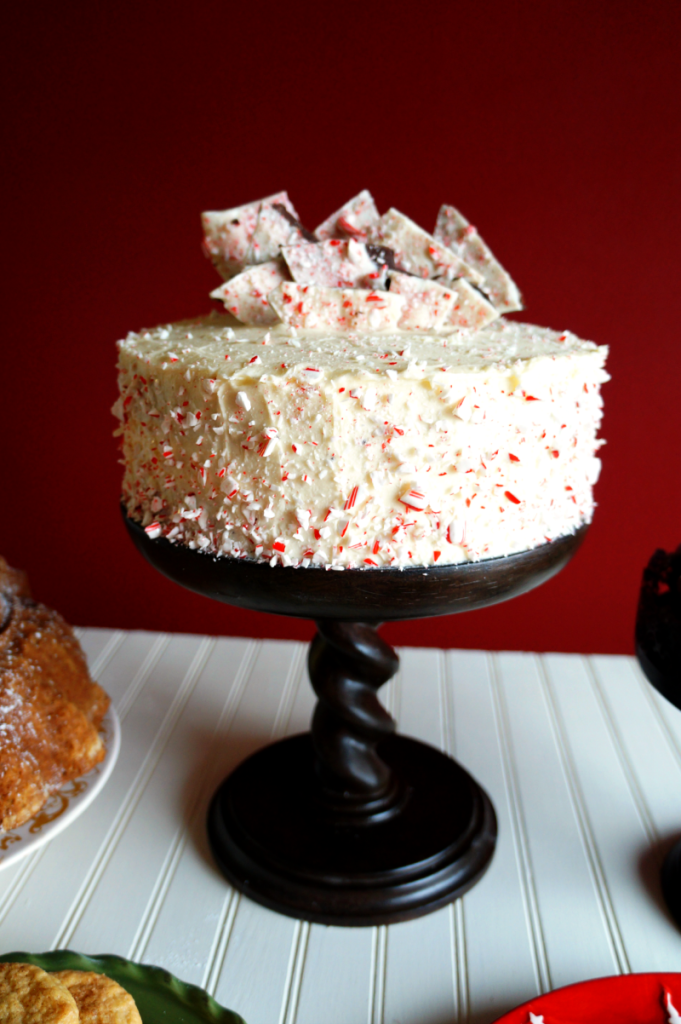
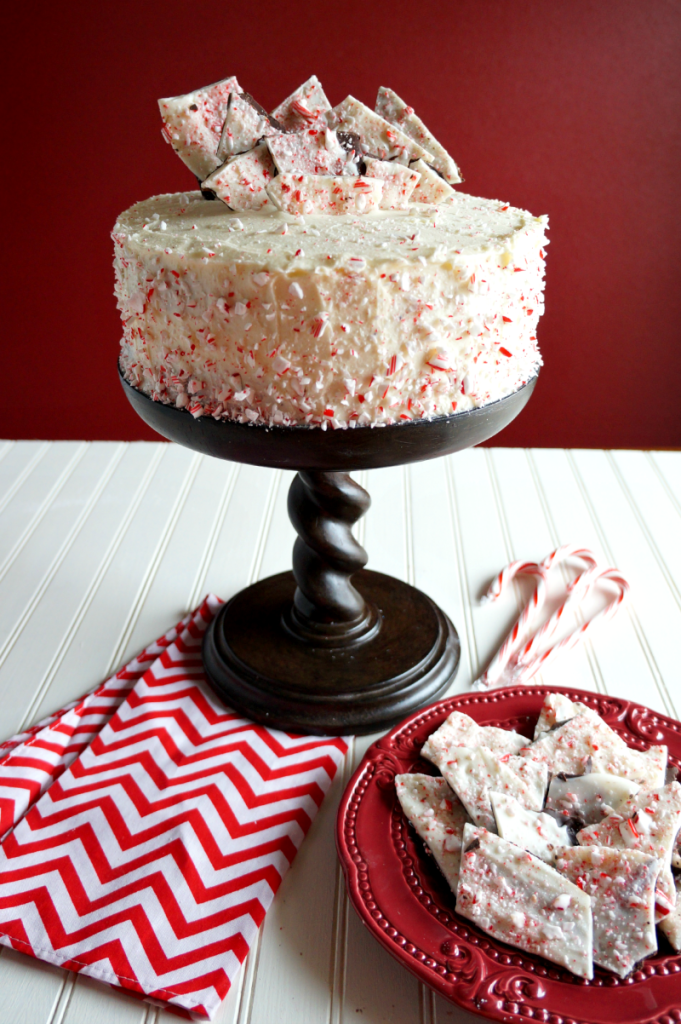
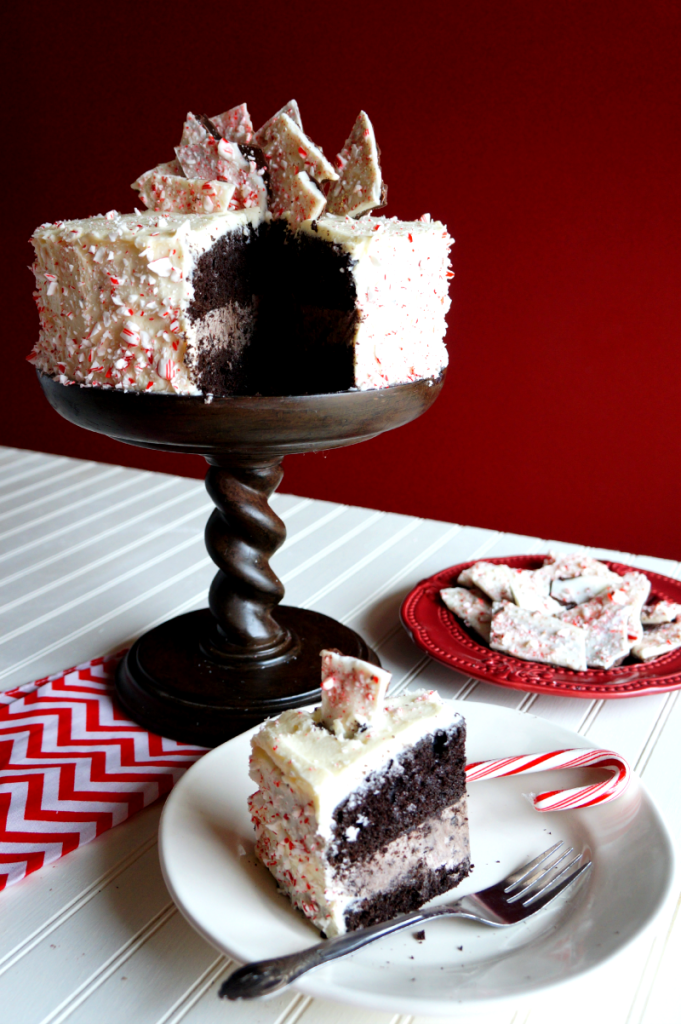
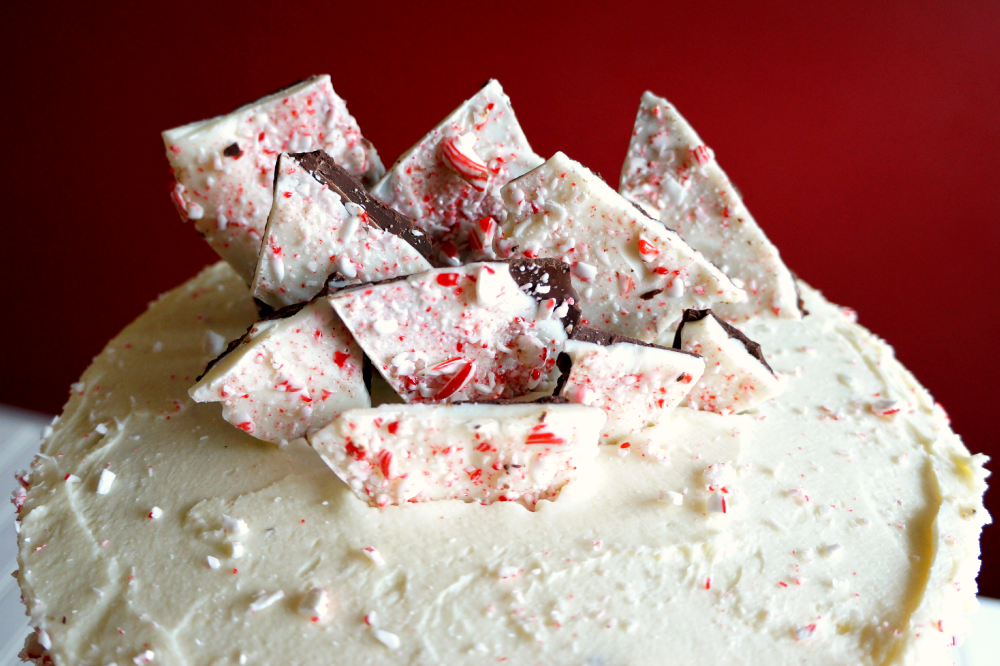
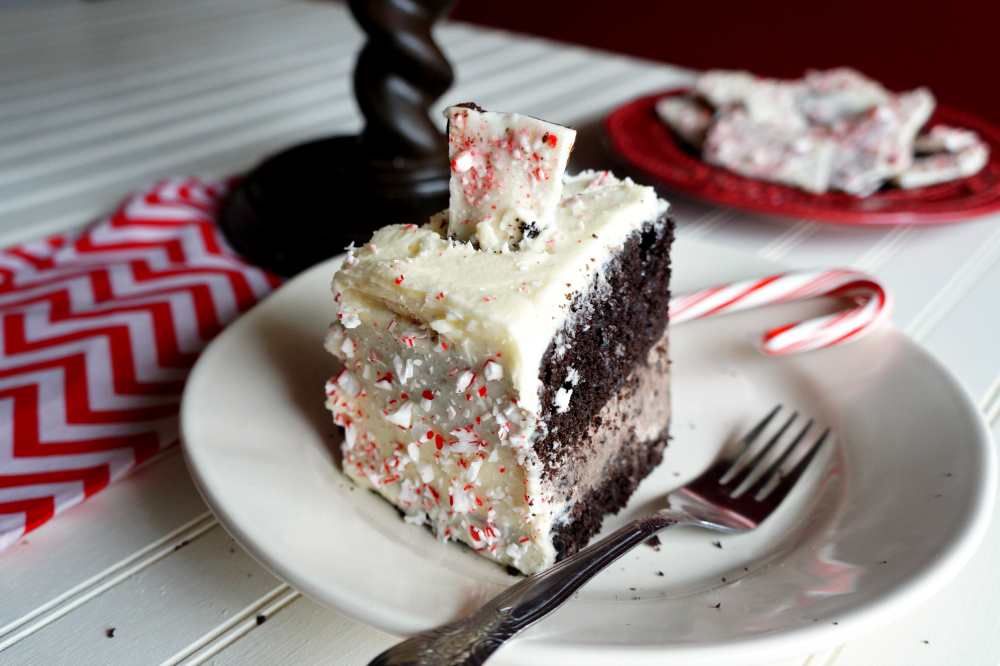
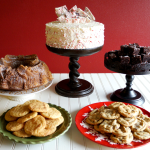
First and foremost, every proper dessert table needs a show-stopping BIG dessert! The star of my table today is this gorgeous, wintery Peppermint Bark Layer Cake! Minty dark chocolate cake is stuffed with buttercream made with HEB's Candy Cane Sandwich Cookies, and the whole thing is iced with white chocolate buttercream. The frosting is then covered with crushed candy canes, and topped with chunks of peppermint bark. Remember that easy peasy peppermint bark recipe I posted last week? It'll come in handy when making this baby! Personally, I like my "star" dessert to be the tallest on the table, and that is achieved partially by making it the biggest dessert, but also by using a pretty cake stand! Cake stands are awesome for dessert tables because they give you the potential for height differences, adding visual interest and make your table prettier. And besides, nobody ever said you have to put CAKE on them specifically, did they? They're lots of fun for displaying cookies and brownies, too.
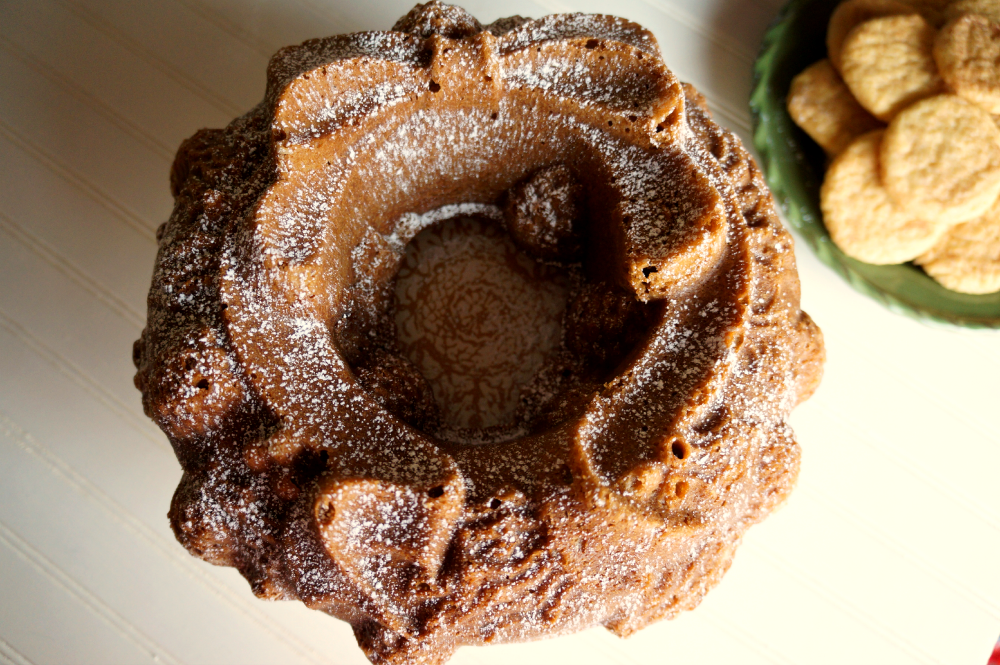
Second rule, give people choices! I LOVE chocolate, and you might love chocolate, but someone else might not, so be sure to offer sweets with different flavors. I included this Molasses Spiced Bundt Cake {recipe HERE} and a batch of Snickerdoodle cookies for those who prefer cinnamon-spice over my beloved chocolate! And for those who might like cocoa but not mint {and therefore wouldn't enjoy the Peppermint Bark Cake}, I made brownies and some good old chocolate chip cookies. Also, for the lowest-maintenance but prettiest cakes, consider baking up a Bundt cake! If you pick a pretty pan, all you needs is a little sprinkle of powdered sugar and it's ready to serve. No need to mess with frosting the thing!
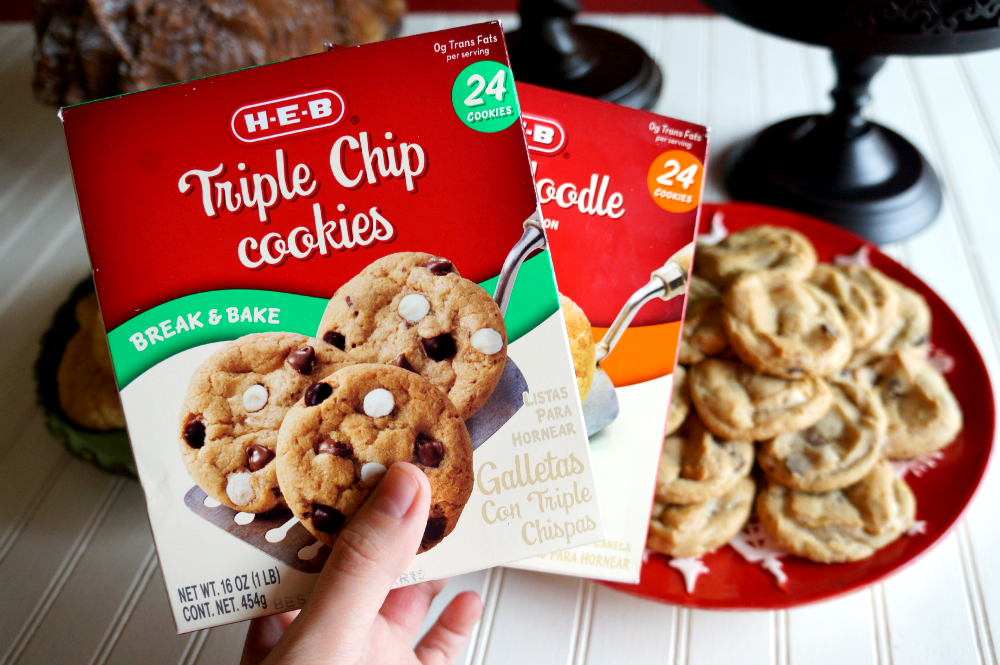
Another of my secrets for the best dessert table ever is that not everything has to be made from scratch! You want a variety of different kinds of desserts and different flavors, but making everything yourself can be seriously exhausting. I picked up a couple packages of HEB's place-and-bake cookies to save some time, and they were delicious! They were such a great pick because not only are they cheap and fast, they taste fantastic warm out of the oven! You can easily fool your guests into thinking you made these yourself, as they taste just like homemade. I tried the Triple Chocolate Chip, and the Snickerdoodles, and they both have my seal of approval!
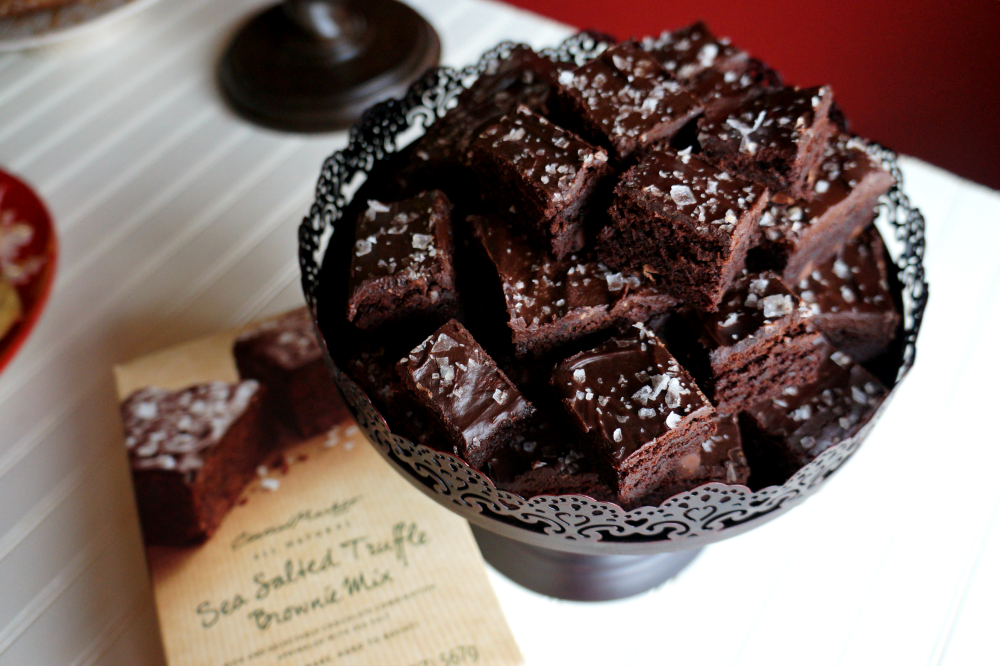
I am obsessed with brownies {see: the 4 million recipes for brownies I have on this site}, so making a batch for my dessert table was a MUST! I picked up a box of Central Market/HEB's Sea Salted Truffle Brownie Mix and I was so impressed! These were so easy to make, but they seriously taste amazing, like gourmet brownies from an expensive bakery. They have a rich, dense brownie base studded with dark chocolate chips, a creamy chocolate ganache topping, and they even come with a baggie of fleur-de-sel to sprinkle on top! So fancy, y'all. I could not stop eating them! Another little pro tip for dessert tables is, cut things in different sizes! I'm not sure if you can tell in the photo, but some brownies are regular-sized, and some are just little bite-sized nibbles. Some people might need a little taste before committing to an entire serving, so give people the option, and you will minimize food waste! Not to mention, this way everyone can try a little bit of everything!
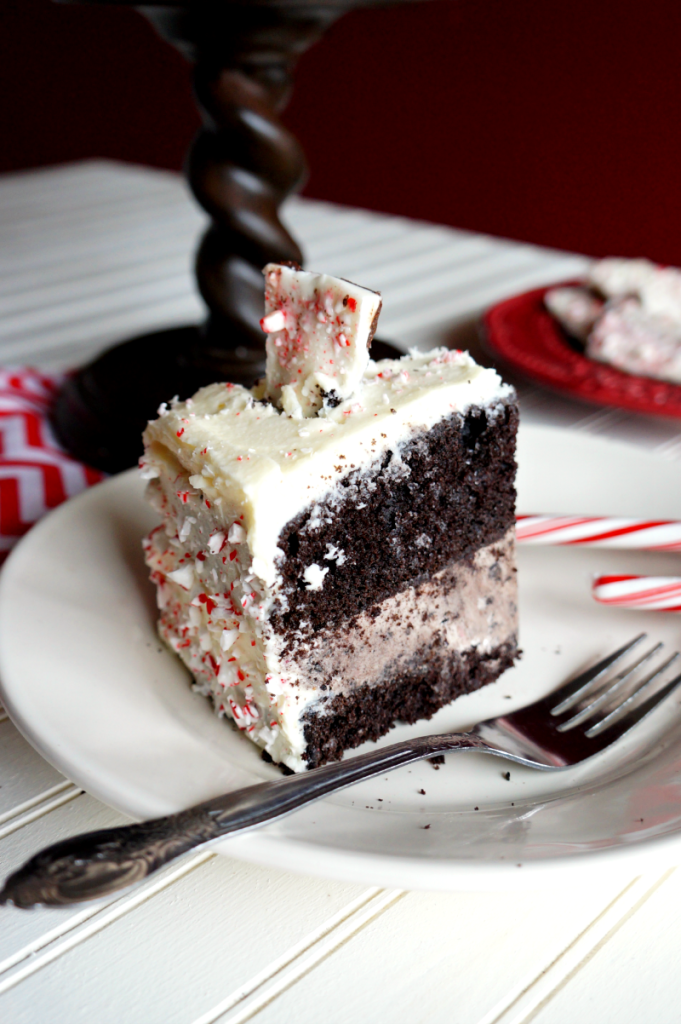
And now, back to the star of the show: this Peppermint Bark Layer Cake is seriously the best thing ever... basically like Christmas itself in cake form. If you're not a huge peppermint fan, fear not! I have to confess that I'm not a huge mint fan either {unless chocolate is involved}, but I loved this cake! The minty-ness is subtle and while it's noticeable, its totally not overwhemling in any way! The cake itself is dark chocolate, the filling is cookies and cream with a bit of peppermint added, and the frosting on the outside is pure white chocolate buttercream, so the chief flavor here is definitely chocolate, with a lil bit of minty kick as an afterthought.
While this may seem like a giant, time-consuming monster of a cake, I promise you it's really not! If I managed to whip up this entire dessert table in the midst of finals week, you can do it, too! I hope I've inspired you to bake up something special this holiday season. Happy holidays and happy baking! <3
Peppermint Bark Layer Cake
Ingredients
- *for the cake*
- 1 ½ cups all-purpose flour
- ⅔ cups dark cocoa powder + extra for dusting pans
- 1 ½ teaspoon baking powder
- ½ teaspoon baking soda
- ¼ teaspoon salt
- ¾ cups whole milk
- 1 teaspoon vanilla extract
- 1 teaspoon peppermint extract
- ¾ cup unsalted butter softened
- 1 ½ cups sugar
- 3 eggs
- *for the filling*
- 1 cup {2 sticks} unsalted butter softened
- 3 cups powdered sugar
- ½ package HEB Candy Cane Sandwich Cookies
- ½ teaspoon peppermint extract
- 1-2 tablespoon heavy cream
- pinch of salt
- *for the buttercream frosting*
- 1 cup white chocolate chips
- 1 cup {2 sticks} unsalted butter
- crushed candy canes and peppermint bark for garnish
Instructions
- First, start on the buttercream. In a small pot, heat the butter and white chocolate together until melted. The mixture will look greasy and separated, but it's okay! Whisk everything together, then remove pot from heat and let the mixture come to room temperature. When it is cool enough to handle, transfer to the fridge and chill until completely solid.
- Meanwhile, preheat the oven to 350F. Grease two 9-inch round cake pans, line bottoms with parchment paper, and grease paper. Dust pans with cocoa powder.
- In medium bowl, whisk together flour, cocoa, baking powder, baking soda, and salt. In a measuring cup, mix together milk and vanilla. In a stand mixer, at low speed, beat butter and sugar till blended. Increase speed to high and beat for 2 minutes. Reduce speed to medium-low and add eggs one at a time, beating well after each addition.
- With mixer at low speed, alternatively add the flour mixture and the milk mixture, starting and finishing with the flour. Beat until batter is smooth, occasionally scraping bowl with a spatula.
- Pour batter into prepared pans; spread evenly. Bake until toothpick inserted in center comes out clean, 25-30 minutes.
- Cool cakes in pans on wire racks for 10 minutes. Run thin knife around edges to loosen cakes from pans, then invert onto wire racks. Remove parchment paper, allow to cool completely.
- While cakes cool, prepare the filling. Place the sandwich cookies in a plastic baggie, and using a rolling pin, crush them finely.
- In a medium bowl, beat the softened butter until light and fluffy. Add in the powdered sugar a cup at a time, until fully incorporated, then add in the peppermint extract and crushed cookies. Beat together, then add the heavy cream. You can use more or less as needed to make the filling creamy and light! Add salt to taste.
- Now, you are ready to start assembling! Choose a serving platter, cake stand, or cardboard cake plate where you will build your cake, and spread a small amount of filling on it. Place one of the cakes on top, then spread the rest of the filling atop this cake. Place the other cake on top of the filling, making sure to orient the flatter, smoother edge up. Make sure cake is flat and level!
- Grab the solidified butter and chocolate mixture from earlier, and transfer it to a stand mixer fitted with a whisk attachment. Beat the mixture until it's light and fluffy, and no solid chunks remain.
- Using an offset spatula {or whatever decorating tool you prefer}, frost the cake as desired. I simply did one smooth coat! Decorate the sides of the cake with crushed candy cane pieces, and top with pieces of peppermint bark. Refrigerate cake for at least 30 minutes before serving, and enjoy!
{white chocolate buttercream recipe from Cookies & Cups, cake recipe from my own Blackout Cake}
In accordance with the FTC Guidelines, I am disclosing that I received compensation from H-E-B for my time and participation in the H-E-B Virtual Progressive Dinner. Although we have material connection to H-E-B, any publicly stated opinions of H-E-B and their brands remain my own.








Kristi D Smalley says
The recipe omits the amount of powdered sugar to use in the peppermint cake frosting.
valentina says
Hi Kristi! This type of ganache frosting actually does not require additional sugar - the sugar from the white chocolate is plenty! You just melt down the white chocolate and the butter, let it chill until it solidifies again, and then whip until fluffy.